This first devlog concludes the test phase of Cascadia, my survival1 sandbox game!
Download Pre-Alpha 0.1 and give it a try 

Cascadia's test phase of development spanned from September 21st to November 3rd, with a 3 week break between October 1st and October 23rd due to college. (If you're bad at math, that's 21 days!)
It saw a few architectural changes before settling on a bespoke game engine written in Rust, using winit for window creation and input handling and wgpu for graphics.
So let's take a trip down memory lane, shall we?
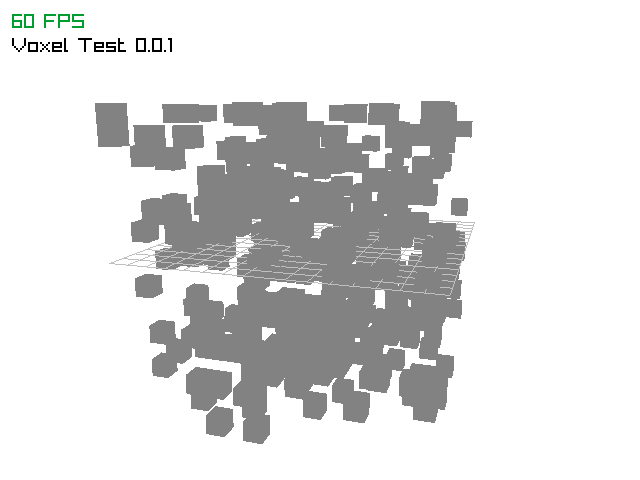
Not knowing where to start, Kett recommended that I try raylib, a C library for game programming. I found a binding for Rust and made this simple test scene using raylib's built-in draw functions.
I then figured out how to texture those cubes!
But I was having a lot of trouble trying to figure out what the Rust bindings for raylib were. Raylib has plenty of examples on their website, but they were only for C. So I gave up and switched to Bevy, a data-driven game engine built in Rust.
Bevy uses an Entity Component System (ECS) pattern where entities are blank slates that you attach components to and process with systems. It's a pretty novel idea to me, and it seems to be quite popular in Rust and gaining traction outside of it too.
But Bevy's ham-fisted approach to treating everything as an ECS—including UI—just rubbed me the wrong way. I needed to find something better.
Seeing that Bevy used wgpu for its graphics, a low-level cross-platform graphics API, I found a wgpu tutorial for creating a render pipeline from scratch. For the next 3 days I poured hours reading, learning, and writing low-level graphics.
I really hoped this would be worth the effort.
I was quite exhilarated with what I had made, my very own render pipeline! From scratch! Without using a game engine!
But the future still felt uncertain to me as I didn't know how much steam I would have to continue working at such a low level, nor if I would be able to find enough resources and tutorials online to know what to do next.
And count my lucky stars, because I found a different tutorial that cleaned up and expanded upon the previous wgpu tutorial! (Which left me with a monolithic file with nearly a thousand lines of code)
With a much more readable source code, I felt invigorated to continue toiling away and implemented raycasting, allowing me to place and break blocks for the first time!
I was still rendering individually instanced cubes which wasn't going to work in the long-term, so I got to work on mesh generation. Here is the very first mesh I generated.
I then rendered square faces proper…
…culled hidden faces…
…and added the rest of the faces! This is a view from inside the mesh.
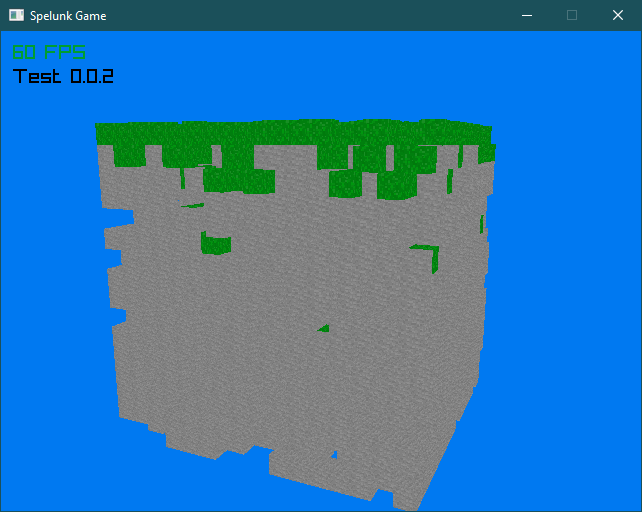
Soon after I integrated texture array support into the render pipeline and rendered grass!
I wanted to use texture arrays instead of a texture sheet because it would be easier to set up. Instead of calculating the correct UVs for a given texture, I just pass a texture index to the shader.
With this index-first approach, I could even make animated textures super easy to implement in the future.

And with my newfound knowledge of the render pipeline and the vertex buffer data, I added lighting data to the vertices to give blocks some contrast lighting.

Adding shadows was pretty easy too using the same vertex light data queried from a light array I added to the chunk.
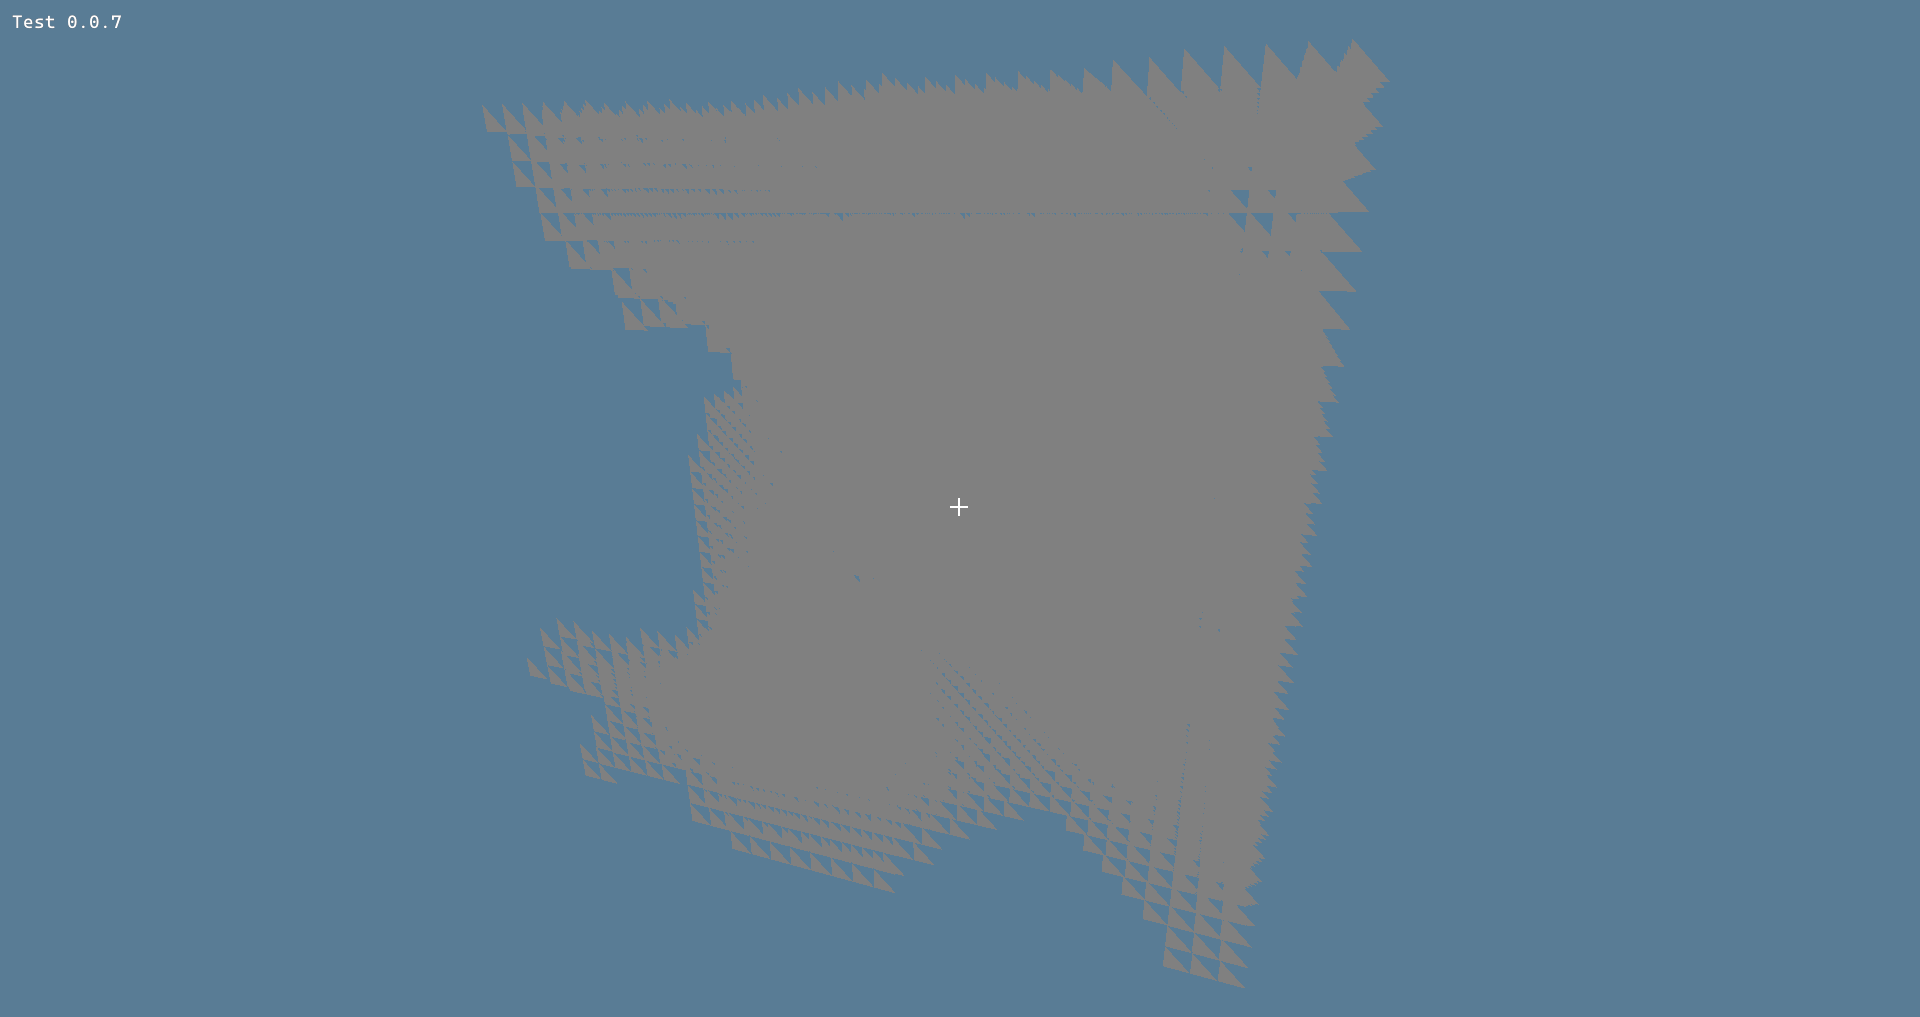
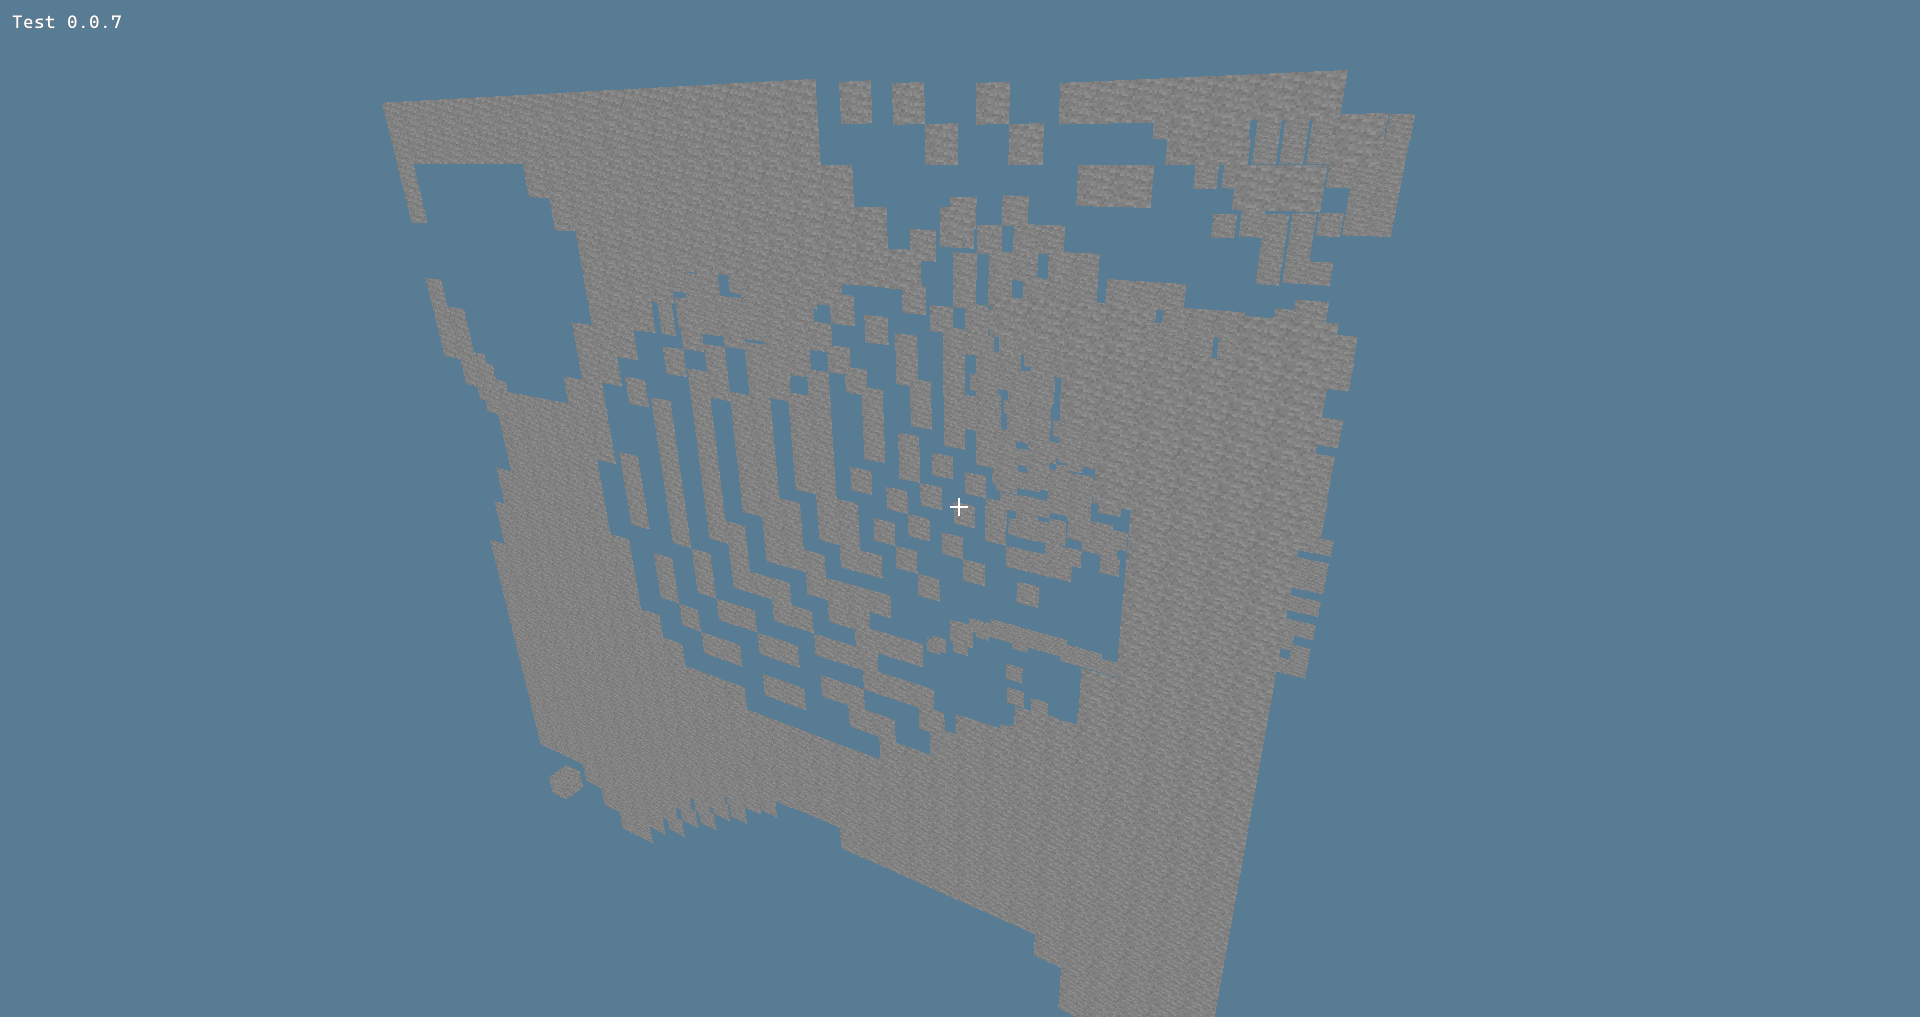
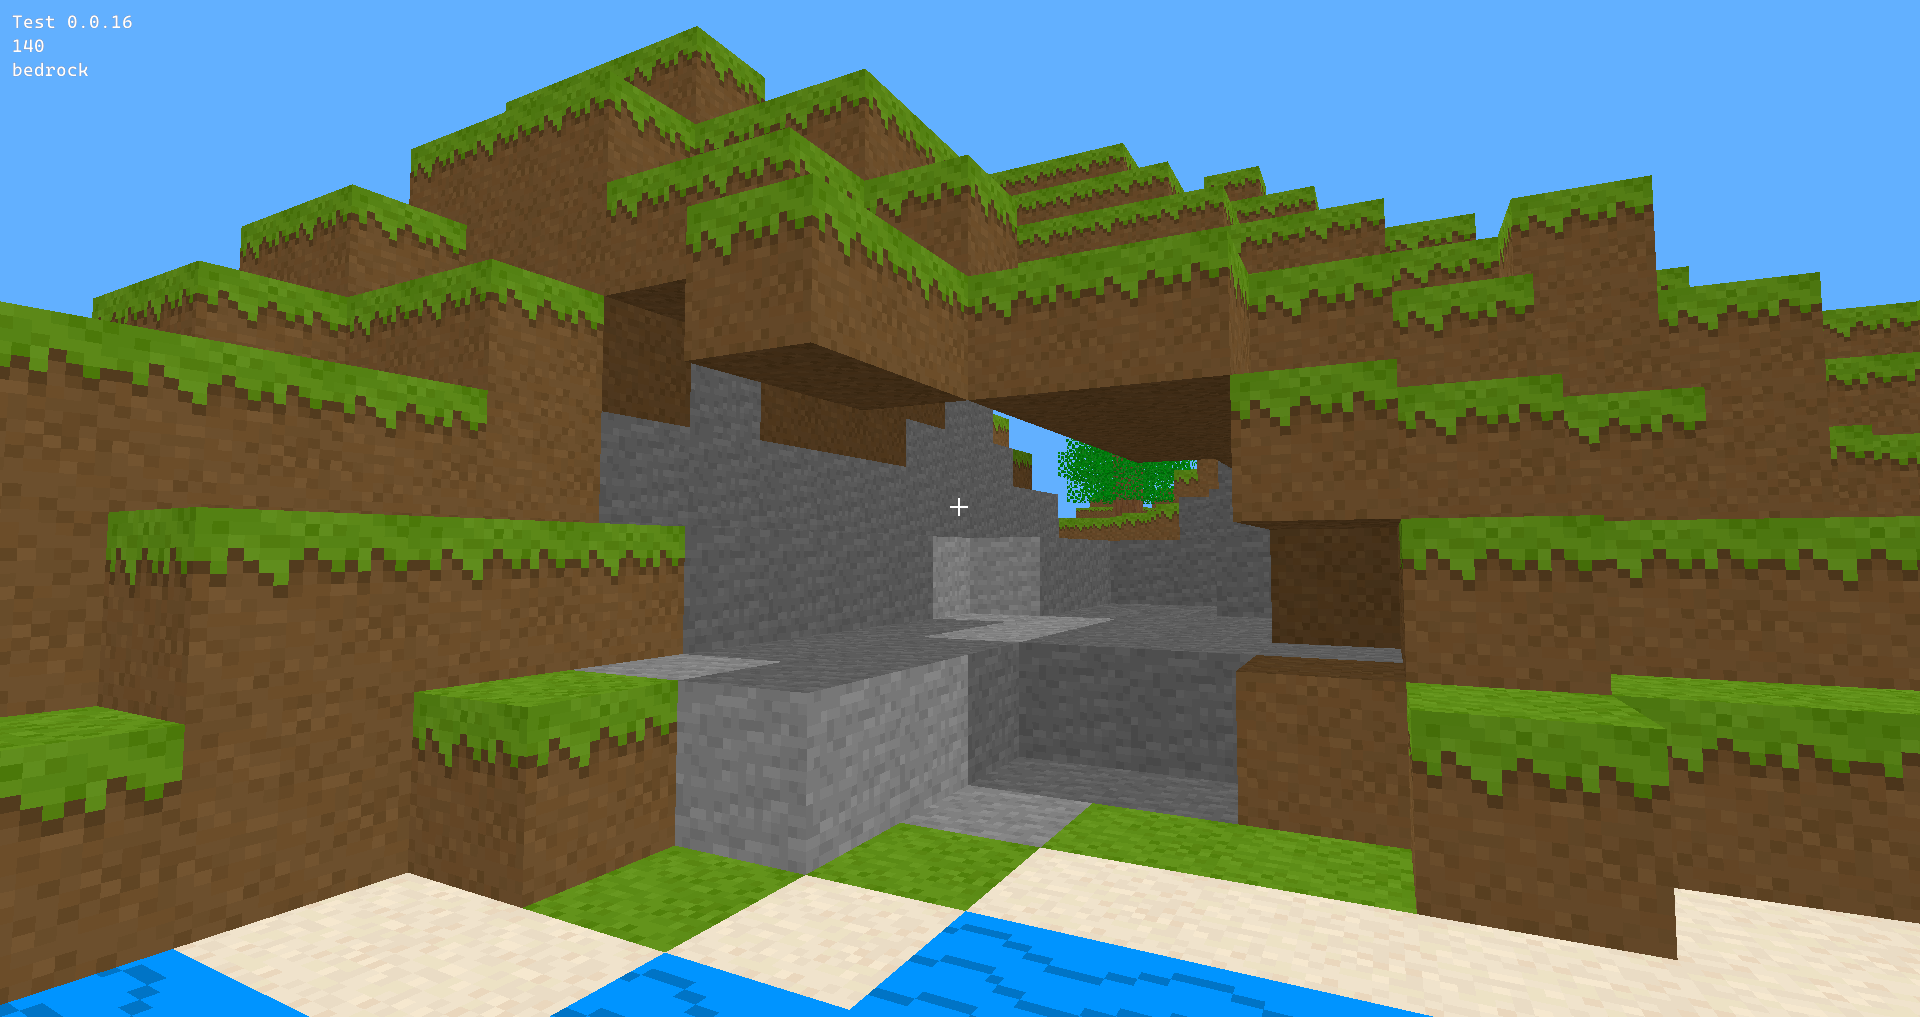
The next step was to have more than one chunk. This was going to have a few challenges, namely getting lighting to work properly across chunks, and to cull the faces of blocks between chunks, but for now I put those problems off for later.
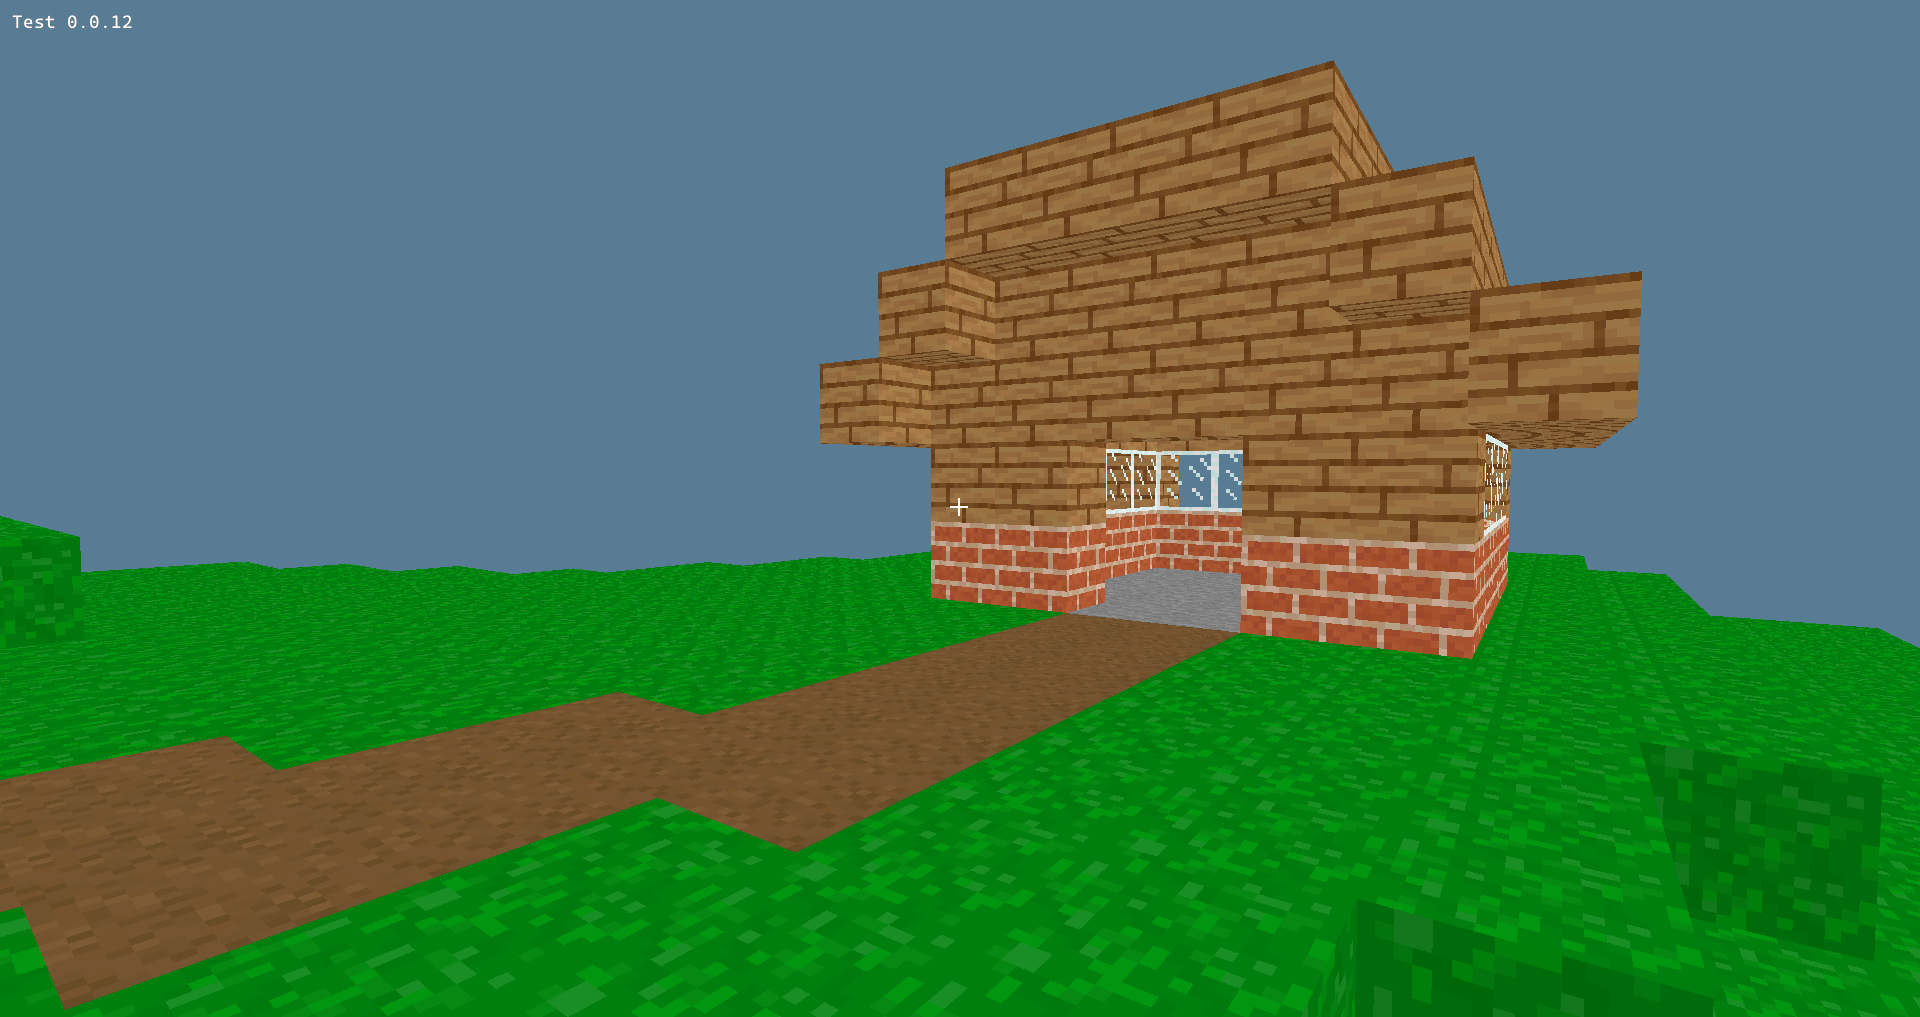
With the ability to place different blocks now, I made the first dirt house in Cascadia.

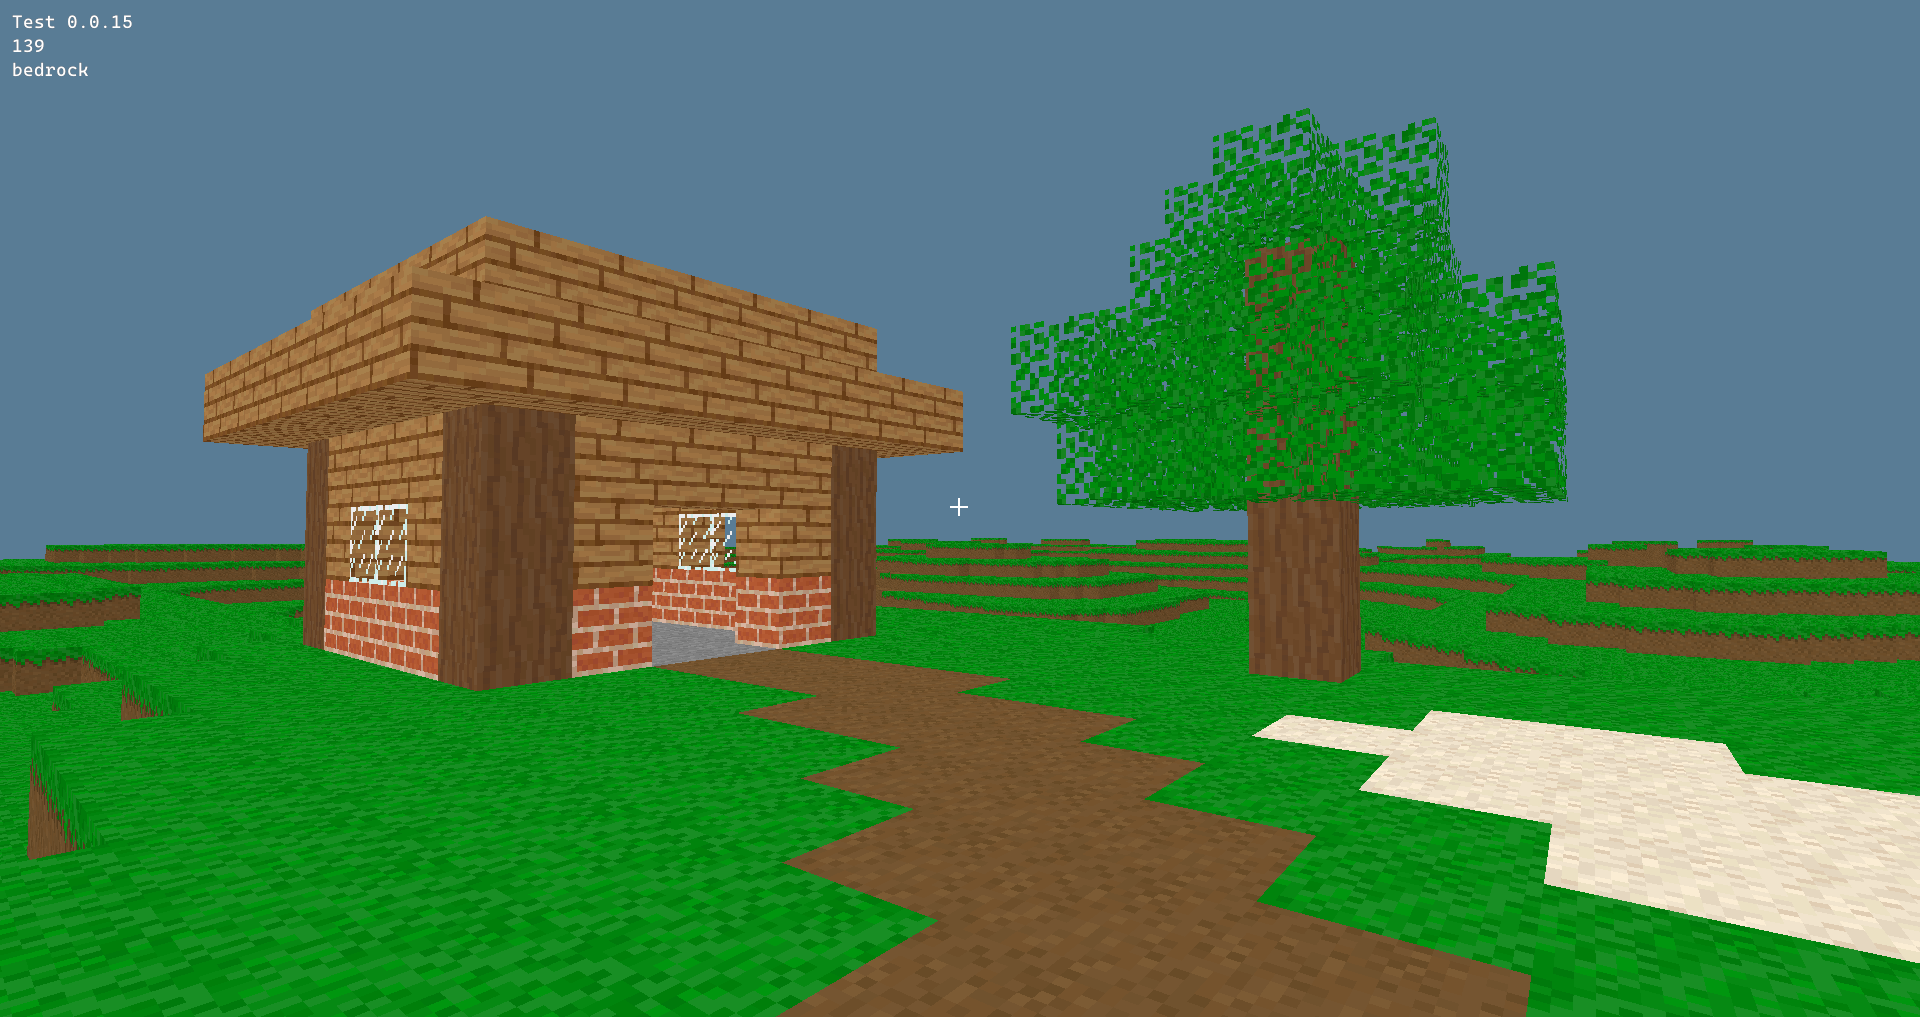
I then added some new blocks that needed their own rendering code. Glass and leaves are both transparent, but leaves fully render to neighboring leaves for a neat layering effect. Logs were the first block to use multiple textures.

Here's a gratuity shot of 64,000 chunks being rendered at once :3

Although I don't have footage of it, this test version marked the inclusion of the first iteration of physics! (Which unbeknownst to me would haunt me for a week as I pulled my hair out trying to fix numerous collision bugs)
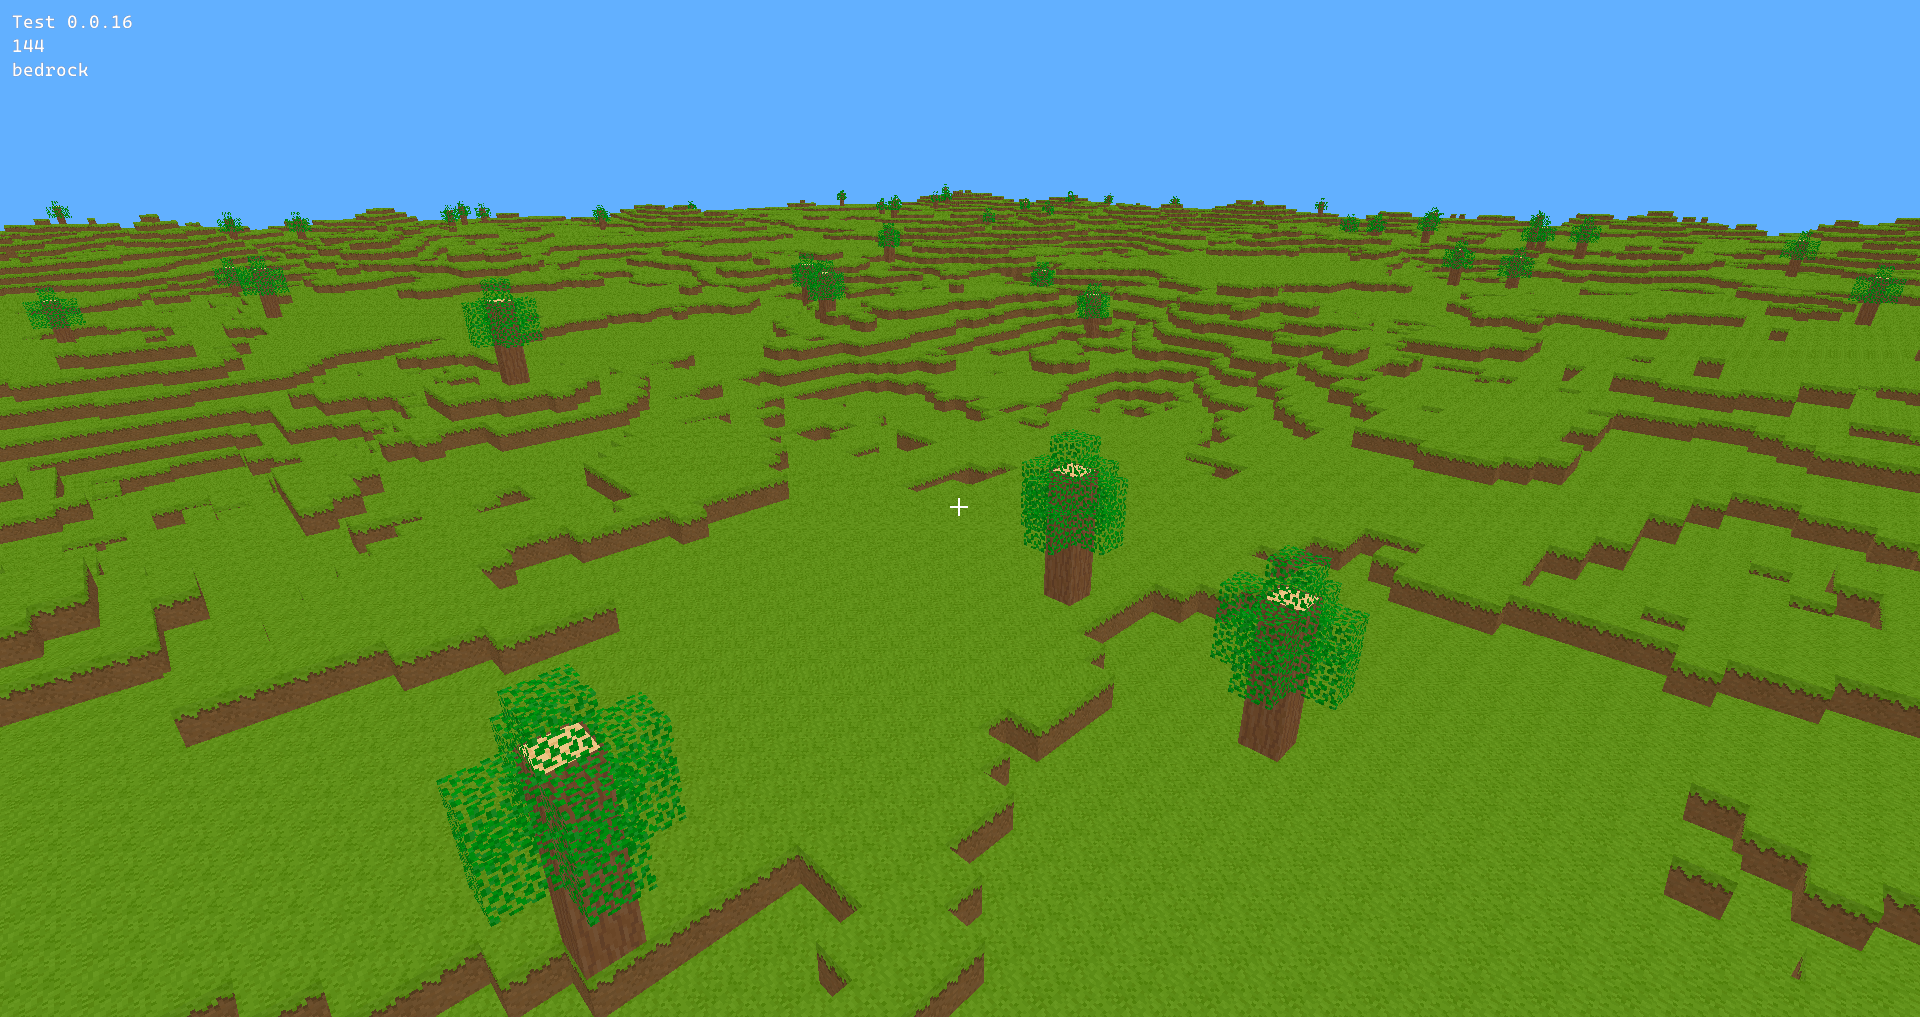
Here's the first version with naturally generated trees! Yeah they're pretty silly looking.
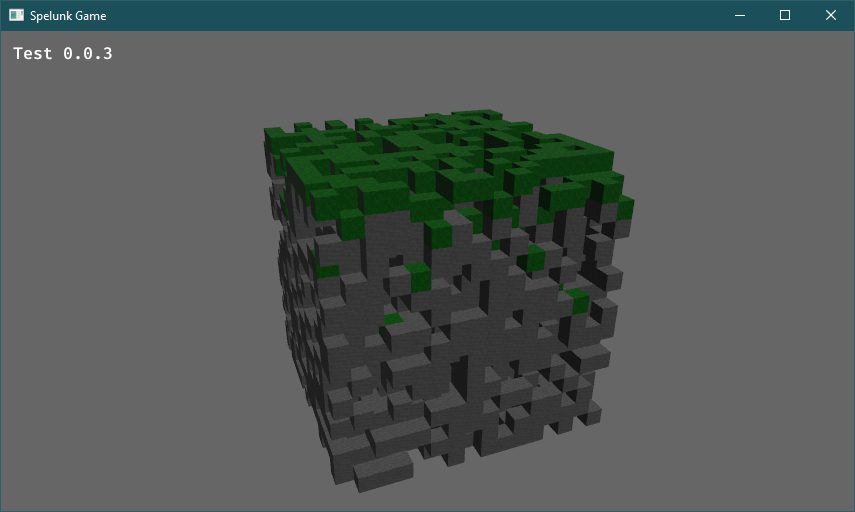
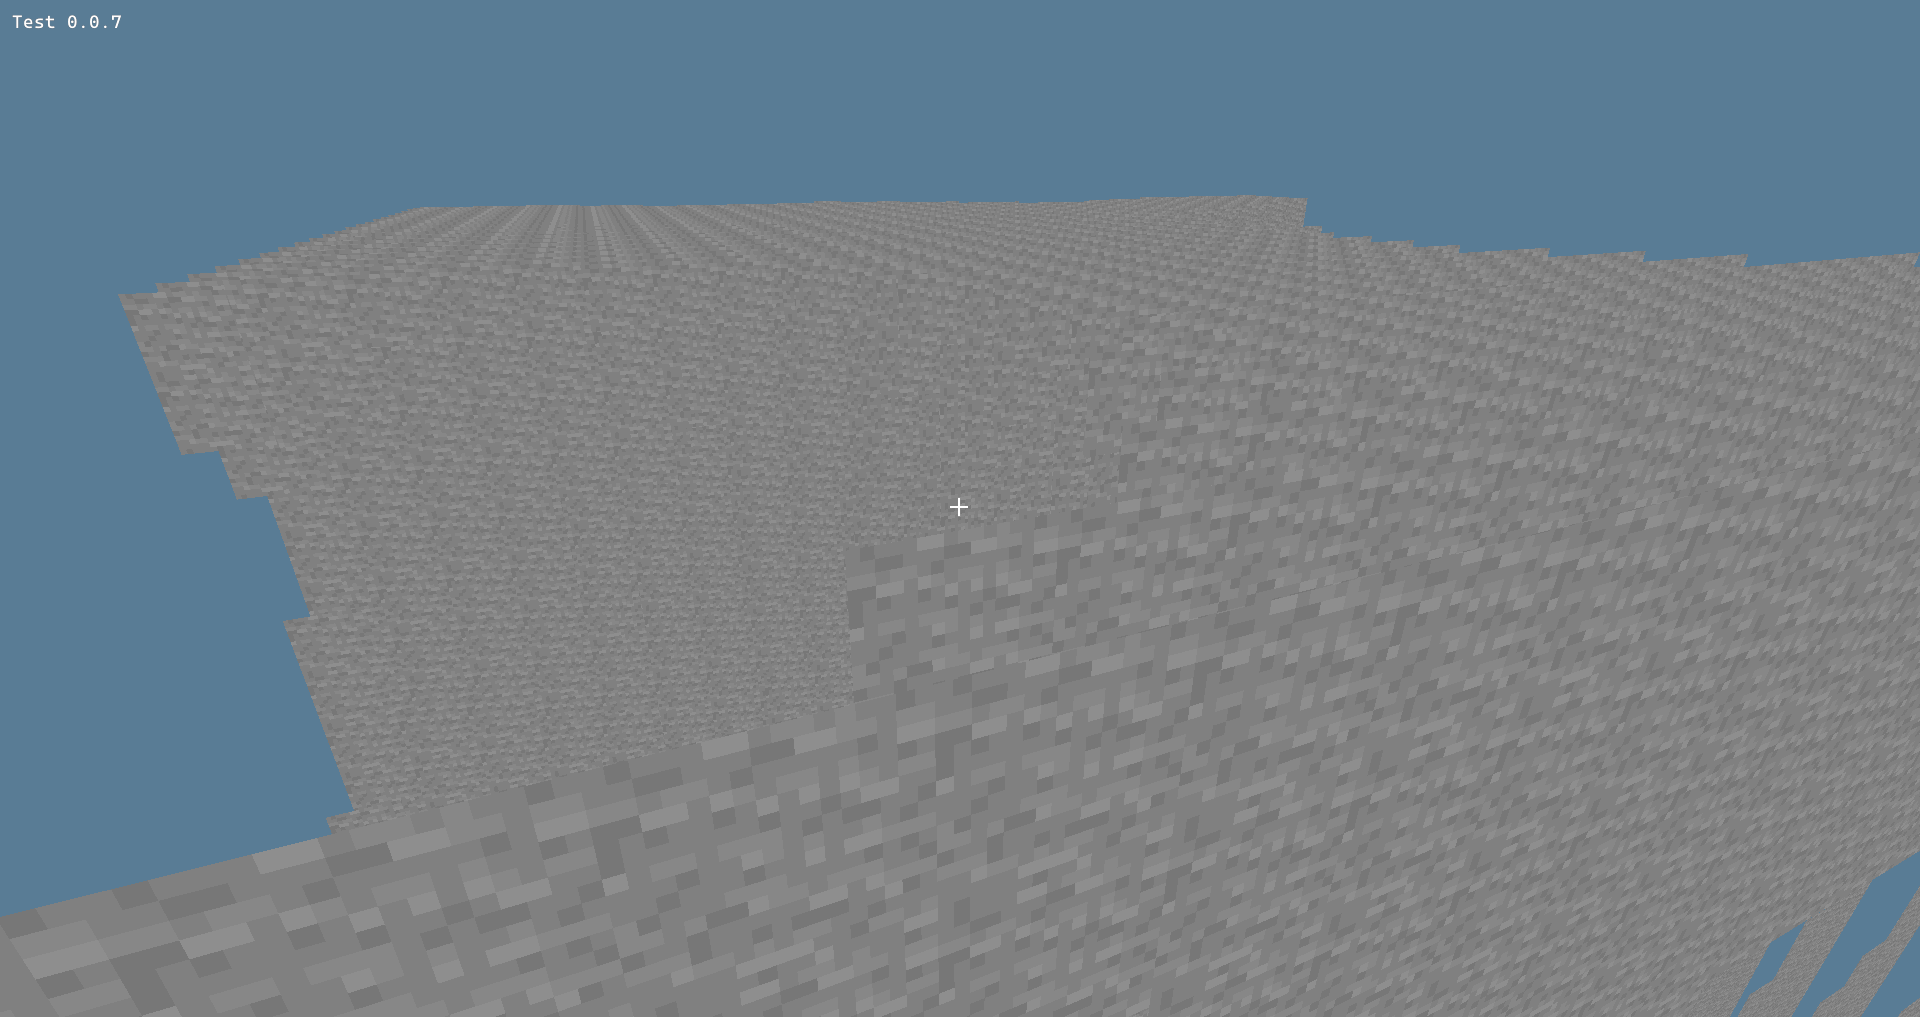
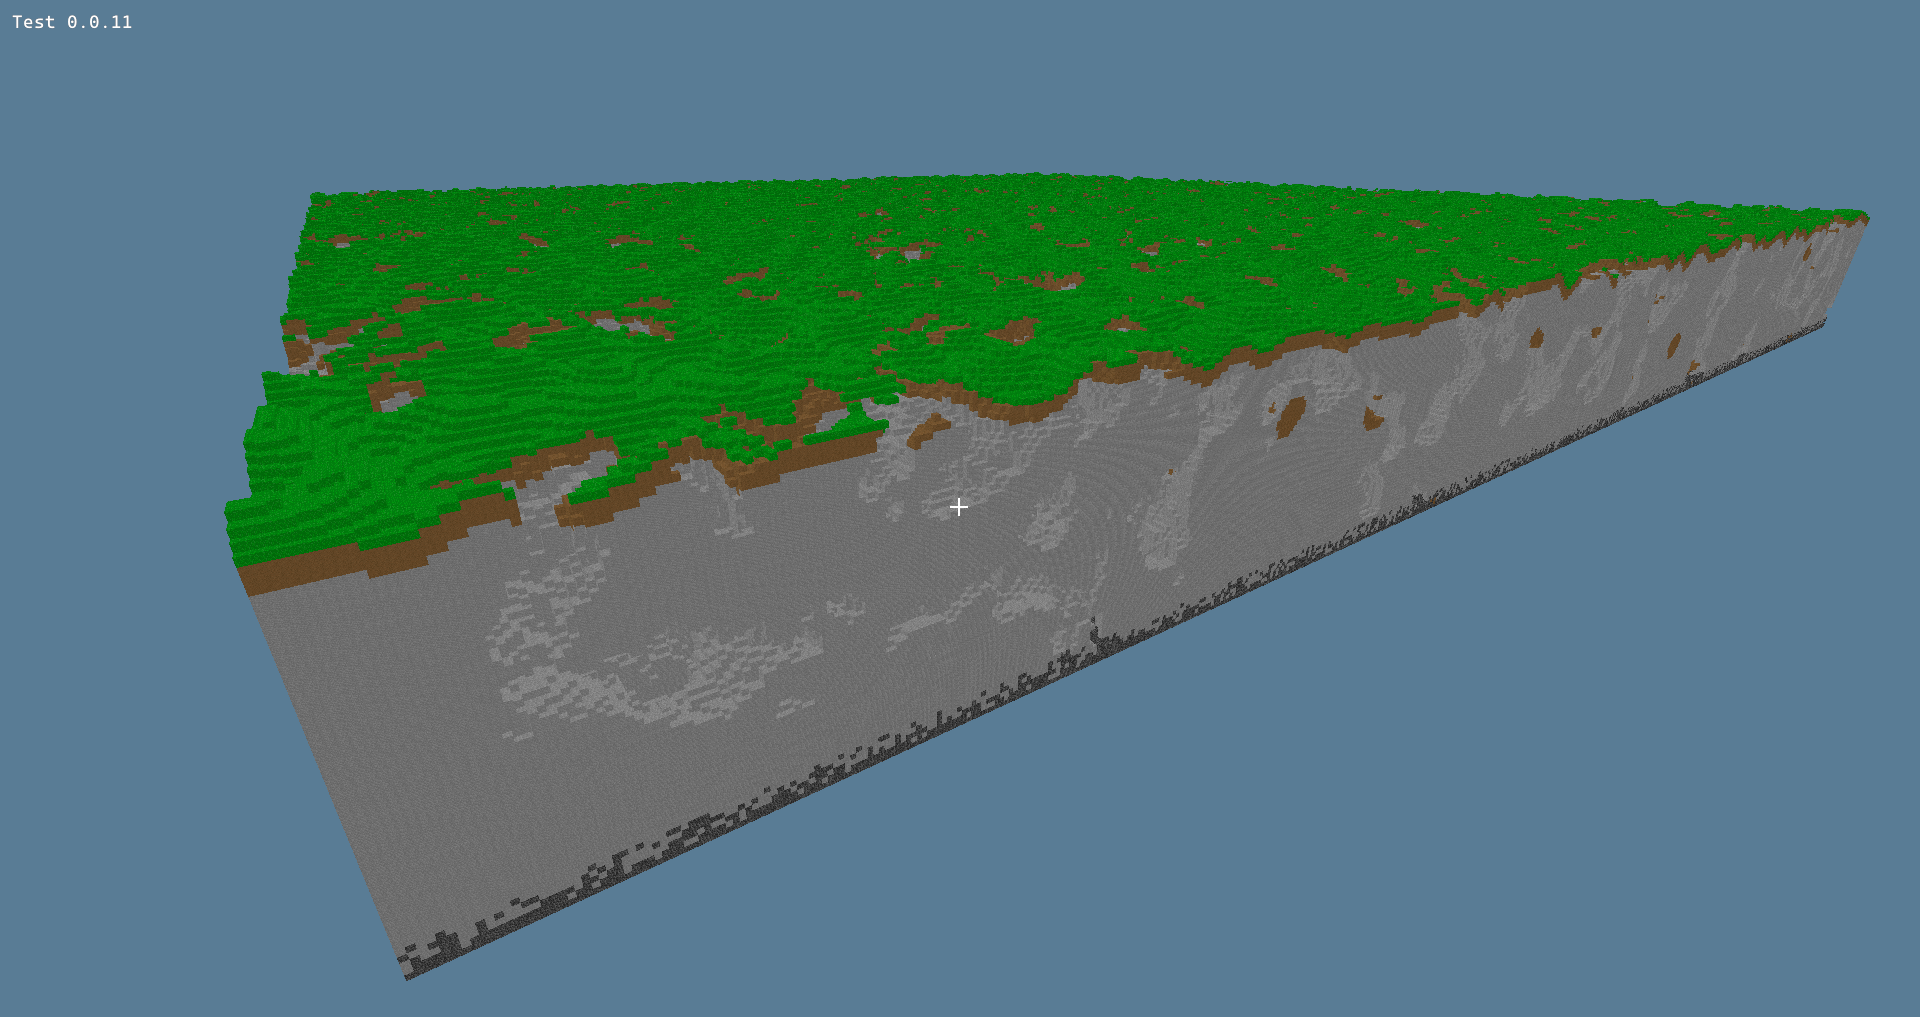
Lighting has returned along with some new terrain generation!
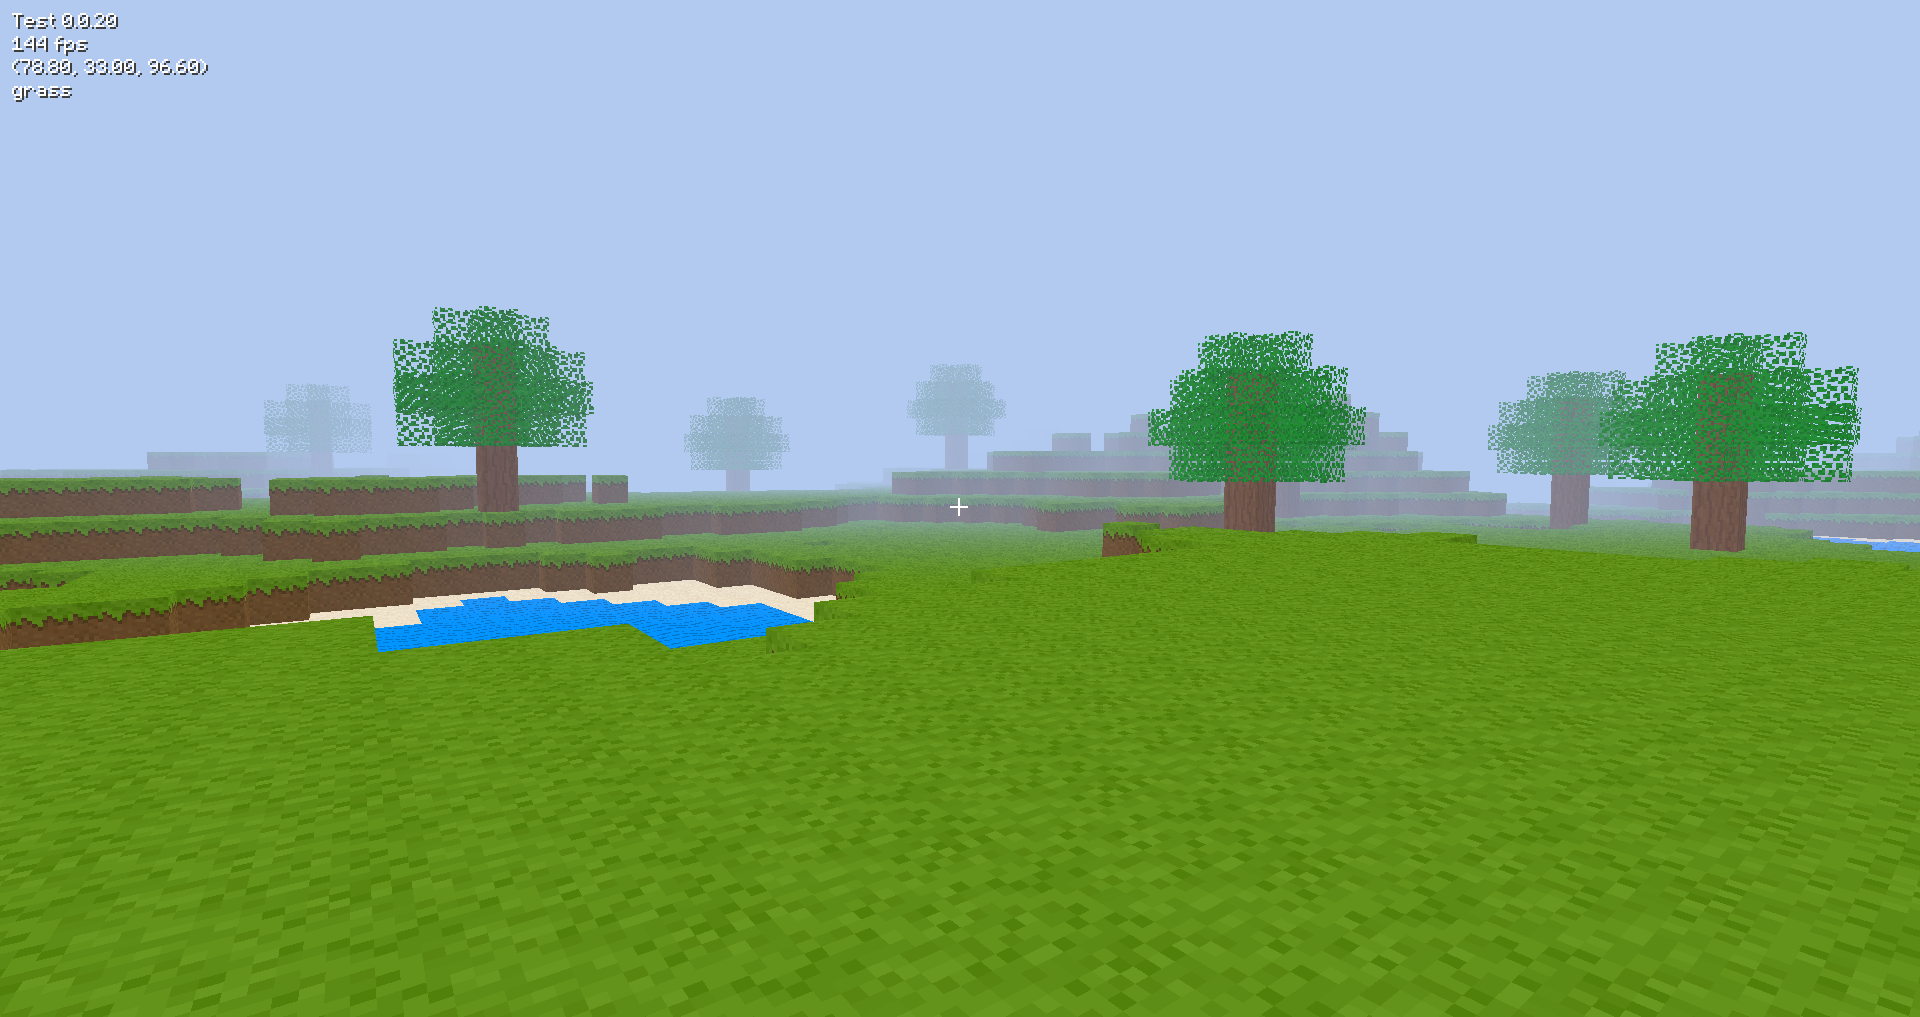
I sprited a new font for Cascadia, and using a distance fog2 tutorial meant for glsl shaders, I was able to translate it into wgsl, the shading language that wgpu uses.
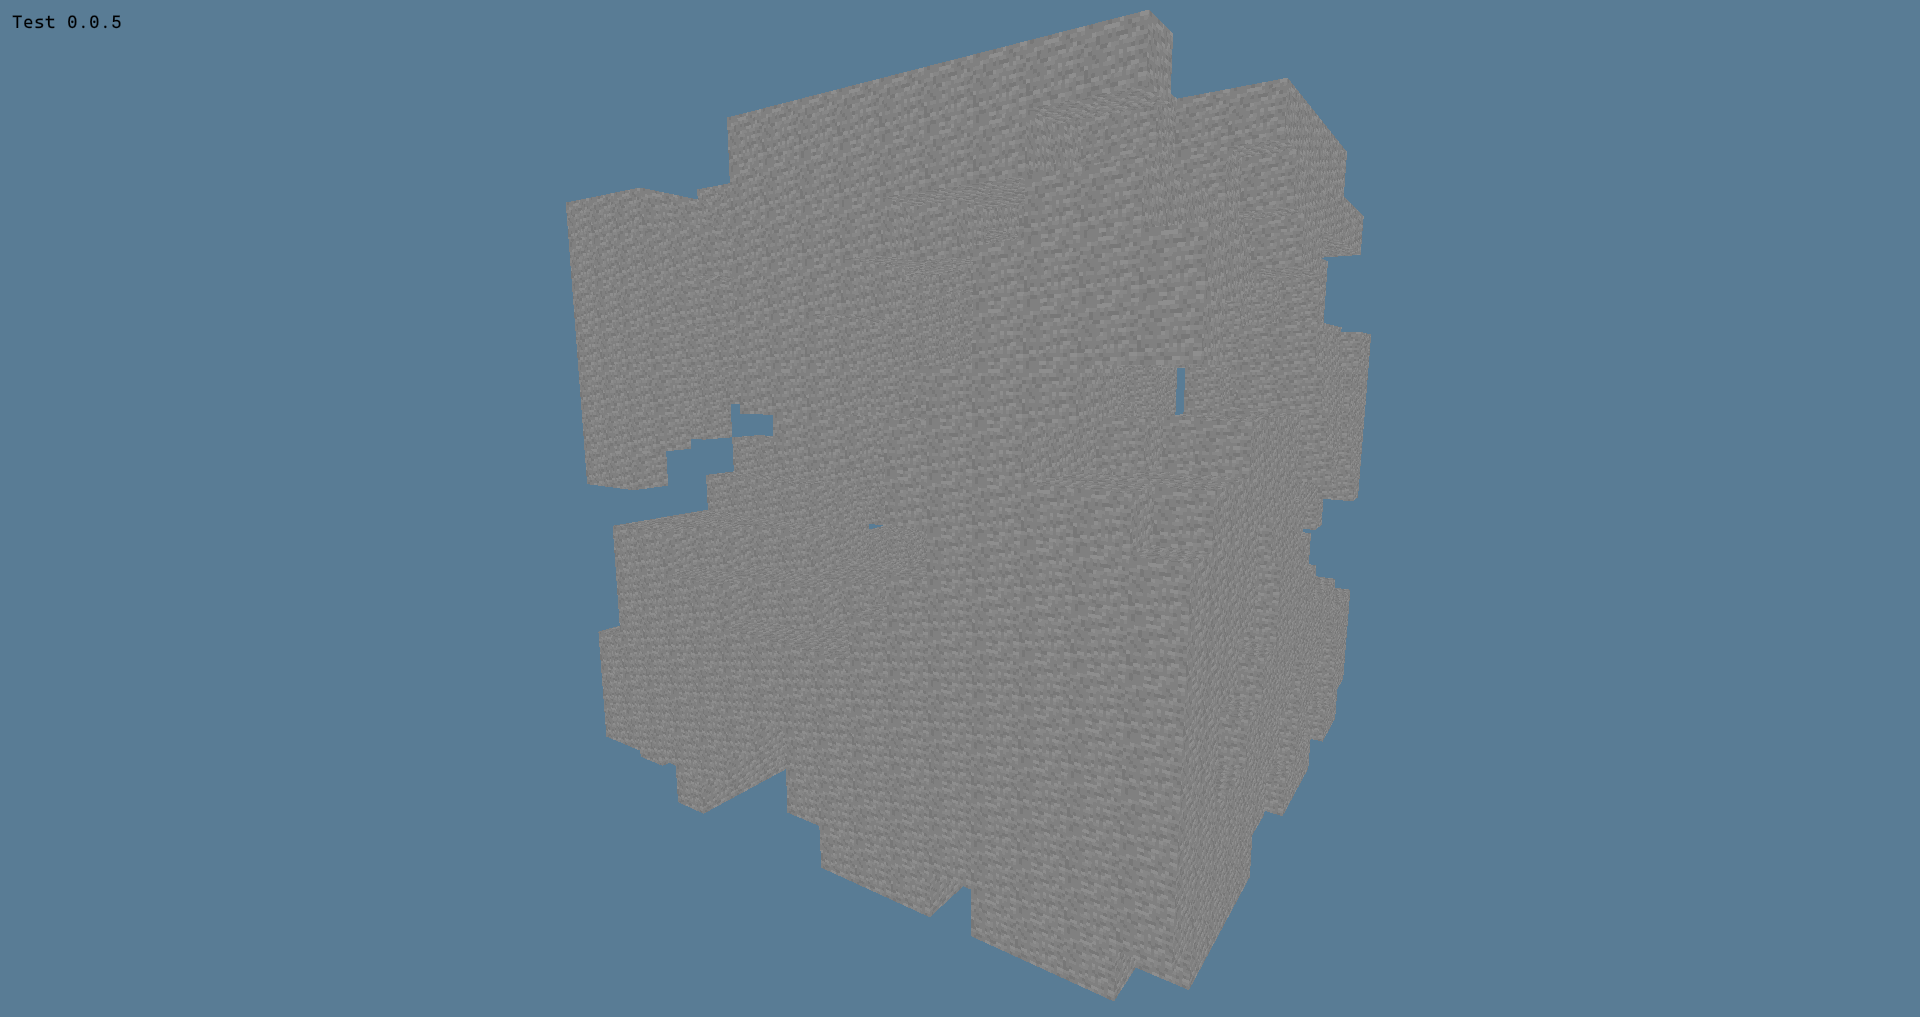
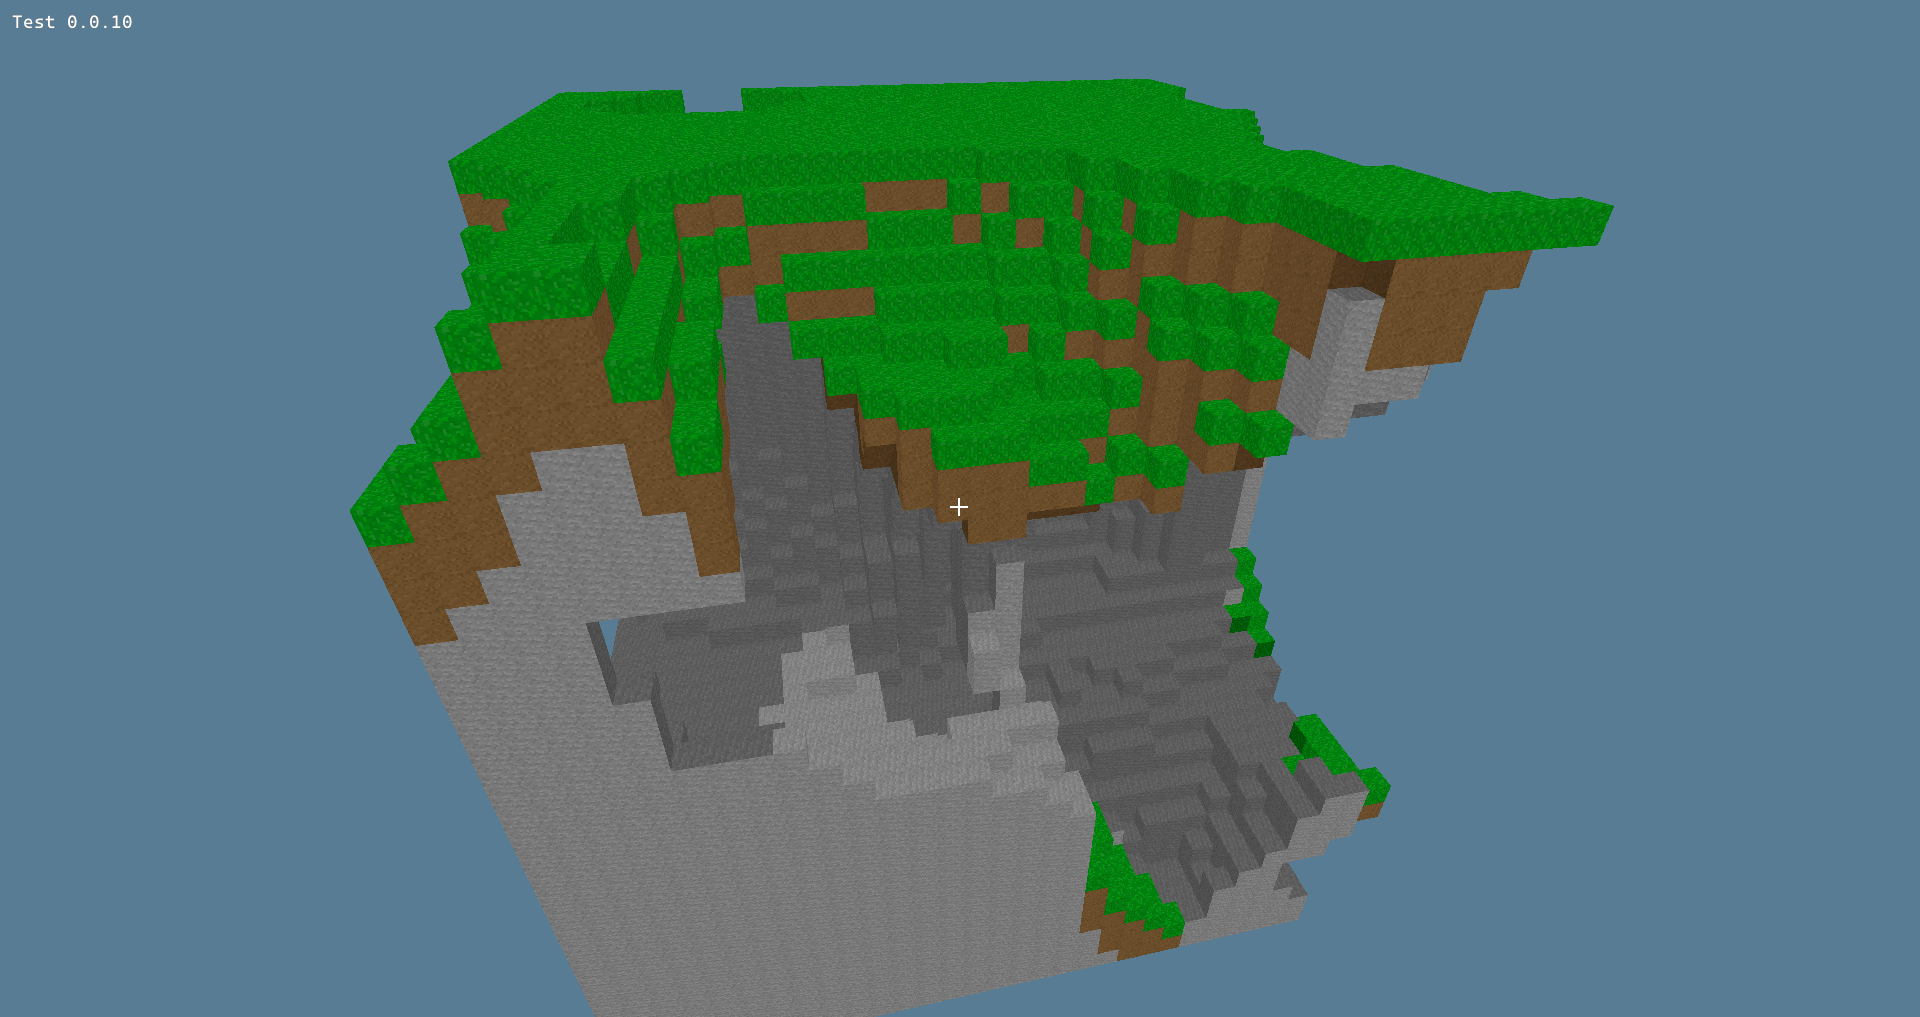
Another terrain generation change to include more varied terrain such as cliffs.

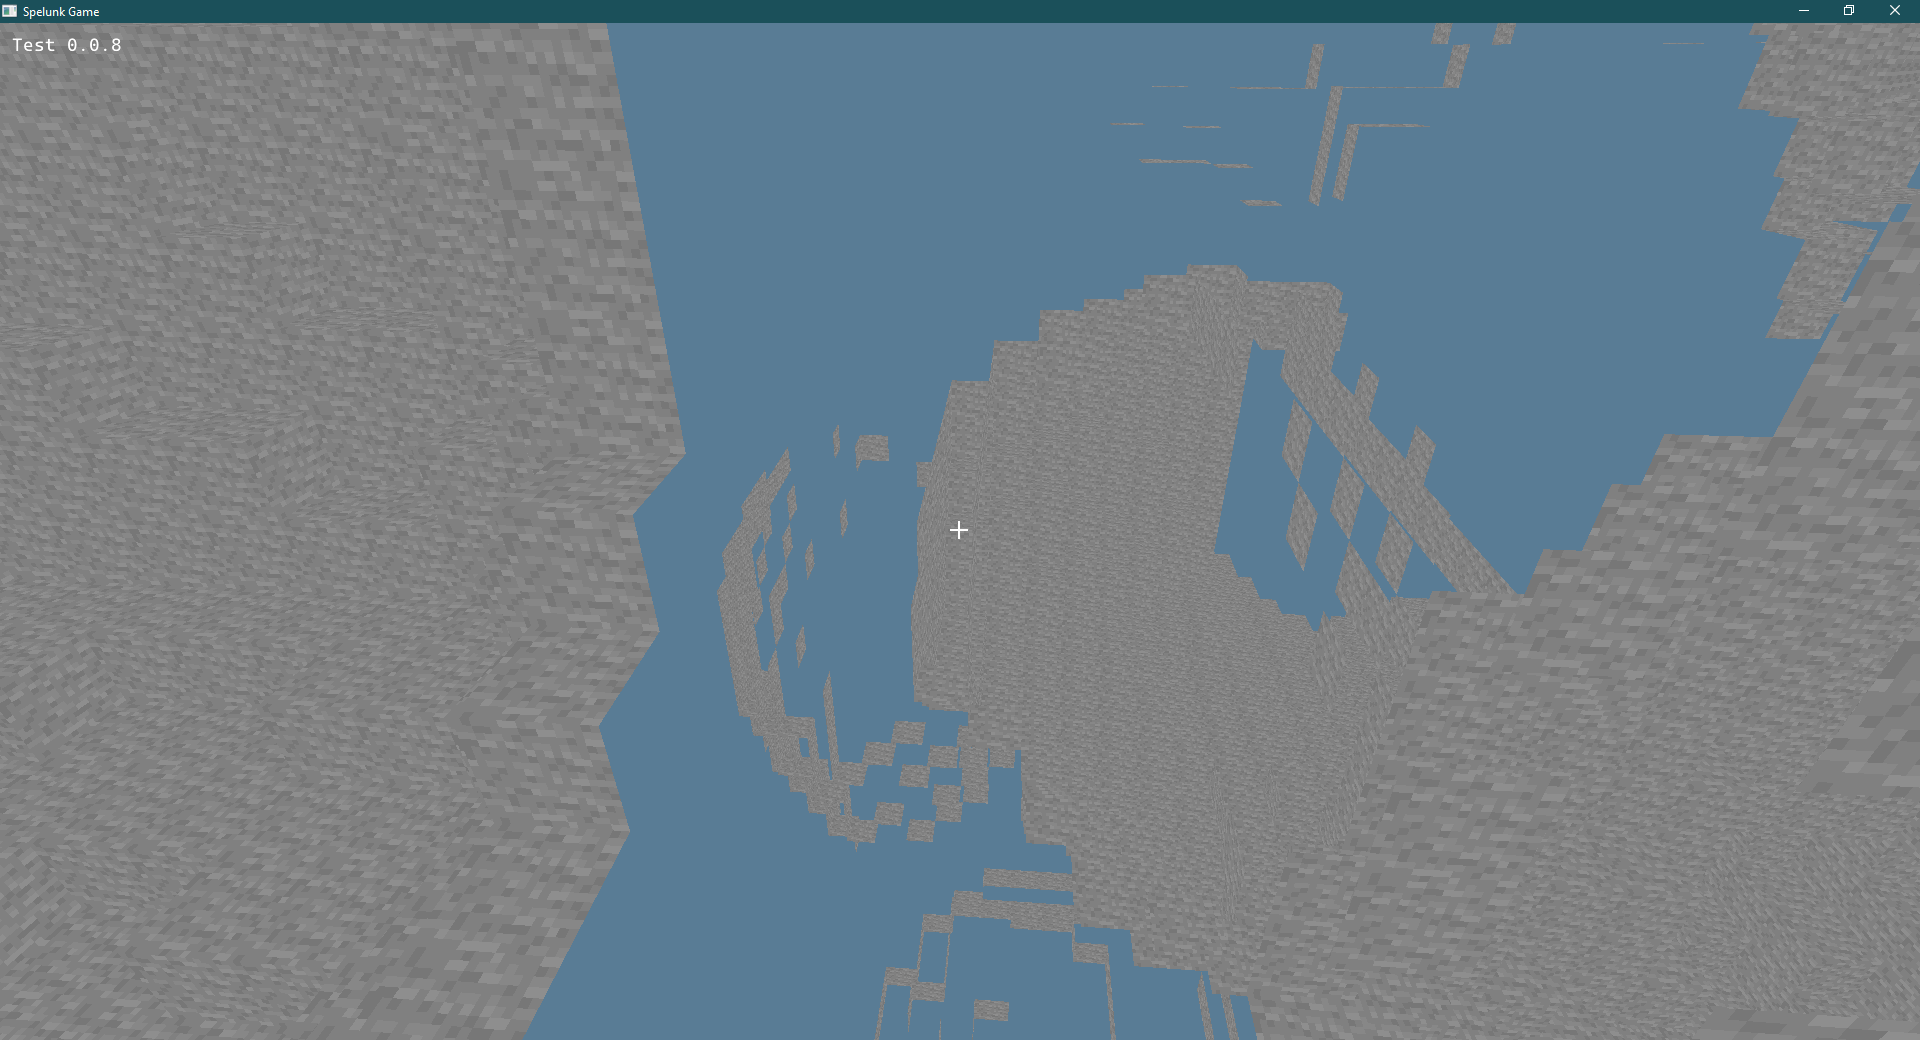
And finally, I vanquished the last collision bug. There were few edge cases where you could phase through the edge of a block, and this video was me testing those.
Whew, that was a lot of progress in a short span of time! And in that time I learned a lot, from programming in Rust (gotta love that borrow checker) to writing low-level graphics with wgpu.
I'm genuinely thrilled with what I have made so far, and I'm excited to continue working on Cascadia to make it my dream game!
I know there isn't any survival mechanics yet, but those will come soon! 
The fog is coming the fog is coming the fog is coming